Conteco floors
How to make a concrete floor using Conteco
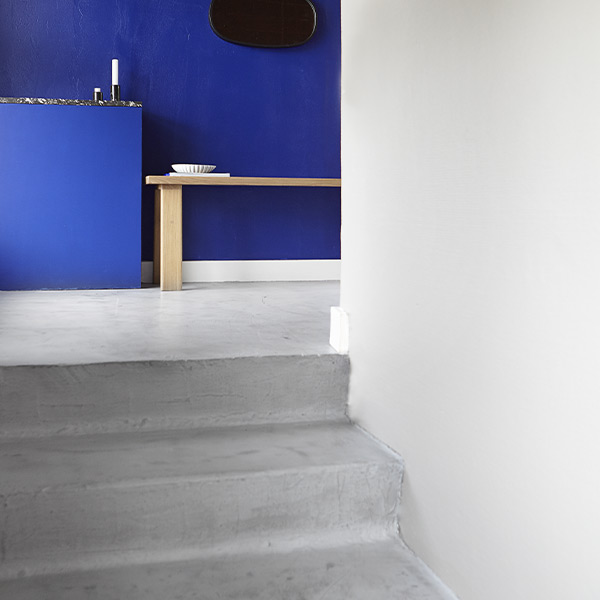
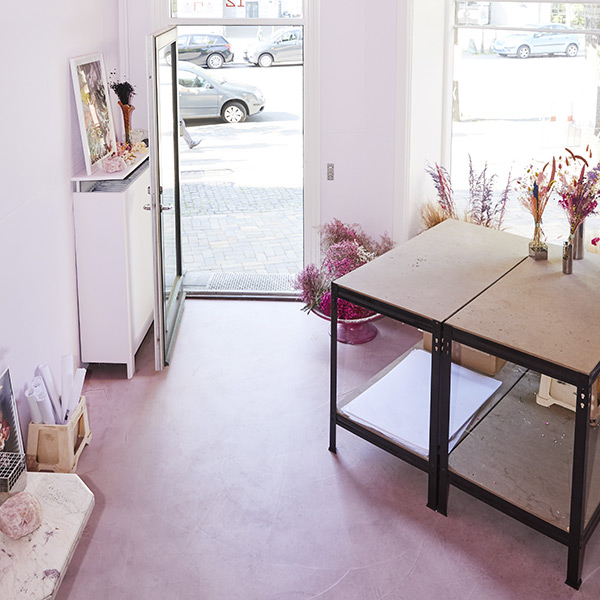
Concrete floors have become very popular in interior design and adds a beautiful, rustic touch to your home. With Conteco’s flexible concrete series, you can easily give your existing floors a durable concrete look and urban feel. It is easy to get started – try our product calculator.
You can apply Conteco on all types of floors, whether it is wood, vinyl, linoleum, or clinkers – as long as the surface is correctly prepared beforehand. In other words, you don’t have to worry about whether Conteco works for your project. Our concrete even works in bathrooms, so you can create the stunning New Yorker bathroom of your dreams.
The style of your new concrete floor is completely up to you, and can be adapted to fit both your home and personality. The nuances run from the classic gray Concrete nuance to even darker shades, and is now also available in a range of color variations. Even the look of the surface can be adjusted depending on how Conteco is applied and what tool that is used for the application. The finished concrete floor has a thickness of only 1.5 mm, but nevertheless holds an incredible durability in order for you to enjoy your beautiful floor, years and years after Conteco has been applied. Read more about the possibilities with Conteco here:
Most importantly – it is both quick and easy to create a hard-wearing concrete floor with Conteco. Are you ready to get started? Read below how to do create your own DIY concrete floor.
DIY concrete floor
- Before you start, please make sure that the chosen surface is clean, even and non-absorbent. If used on clinkers or tiles, we recommend spackling and priming the entire surface before applying Conteco. As Conteco is applied in thin layers, joints and unevenness will show on the finished surface if not evened out before application. Panels must be masked off.
- Mix Conteco according to the instructions in our guide.
- Apply the first layer by pouring Conteco on the floor in small portions and distributing it in a thin layer – as thinly as possible (approx. 0.5 mm) using a tool of your choice according to the desired surface. If you are not satisfied with the result – you can always add another layer.
- The drying time is 45-60 minutes per layer at room temperature (21-23 °C, 50% humidity). If you want an all even surface, we recommend sanding the surface with grain 150 shortly after the surface has dried.
- Before applying the next layer, moisten the surface using a water atomizer. This will ensure optimal adherence.
- Apply additional layers in the same way as the first layer, until the desired result is obtained. See page 11 in our guide for more information on the layers needed for your project.
- When the result is as desired and dried up, treat the surface with Conteco Color Sustainer. Apply the product in a thin layer and massage it onto the surface with a microfiber cloth.
- At last, apply Conteco Concrete Sealer to the surface according to the directions in our guide. Let the surface harden – and enjoy your new floor.
Get started
The Conteco series and products for preparation of your project can be purchased in our webshop. If you are in doubt about what look you want, or how to create a floor in Conteco, we are always ready to help. Contact us on info@conteco.dk for questions, or use our product calculator to find the right products for your project. You can also download our Conteco guide that describes the process step-by-step, right here.
The only limit is your imagination
Only your imagination is the limit when it comes to using Conteco in your home, but with an urban concrete floor the “wow-effect” is inevitable. If you want a classic concrete look, go for the Concrete or Charcoal nuances, or let your creativity loose with our broad range of colors.
What you need to get started
- Conteco Basic, and either Medium or Fine.
- Conteco Mix & Primer
- Conteco Color Pigment
- Conteco Color Sustainer
- Conteco Concrete Sealer
- A steel-, plastic-, or rubber trowel
- A painting brush
- A painting roll for the sealer
- A pair of working gloves
- A dust mask
- A power drill + a drill mixer
- A bucket for mixing concrete
- A water atomizer
- Masking tape
- Sandpaper grit 150

